

Overview
Time slips are entered from your time sheet. If you are starting a new pay period or you are a new employee entering time for the first time, your time sheet may start out blank.
You can enter time in two main ways:
Use Add Time to create a new time slip
Use existing rows from a prior pay period and add hours directly into the time sheet grid
The second method is often faster when you are working on the same projects, phases, or overhead categories from one pay period to the next.
Add Time Manually
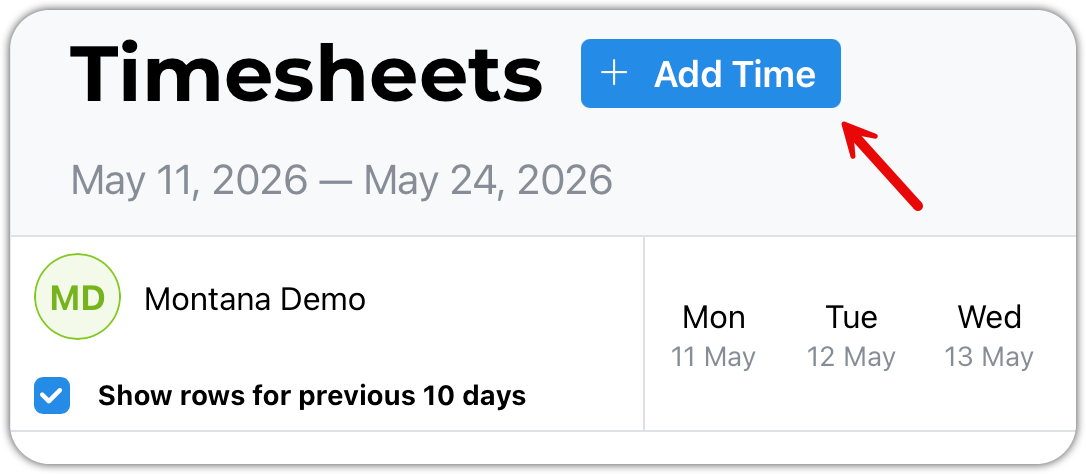
To enter a new time slip manually, open your time sheet and select Add Time.
BaseBuilders supports four types of time slips:
Project Time (the real work)
Proposal Time (marketing)
Admin Time (general overhead)
Benefits Time (holiday, vacation, pto)
When you enter project time, you will select the project and the phase you worked on. You will also review or enter the related time slip details, such as the date, billing rate, activity, hours, and comments.
Depending on your company’s settings, you may also be able to enter mileage, mark time as regular time or overtime, and add related expenses or services.
When to Use Add Time
Use Add Time when the row you need is not already visible on your time sheet.
This usually applies when:
You are working on a new project
You need to enter proposal time
You need to enter admin or overhead time that is not already shown
You need to enter benefits time
Add Time Using Existing Rows
BaseBuilders only displays rows for dates that already have time entered. If you are on a blank pay period, you may not see any rows yet.
If you worked on the same projects or overhead categories during a prior pay period, you can use those existing rows to enter time more quickly.
Option 1: Show rows from the prior ten days
This will show rows from projects and such that have not yet had time entered for the current time period.
Option 2: Move Backward Until Rows Appear
One way to find existing rows is to move backward through the dates on your time sheet.
As you move back to days that already have time entered, rows will begin to appear. Once the correct row is visible, click into the row and enter the hours for the current day.
This works, but it can be slower if you have to move back several days to find the rows you need.
Option 3: Start From the Prior Pay Period
A faster method is to start on the prior pay period where your rows already exist.
From there, move forward to the first day of the new pay period. Since the same project, phase, proposal, admin, or overhead rows are already visible, you can click directly into the correct column and enter time for the new day.
This is useful when your work is mostly consistent from one pay period to the next.
Entering Benefits Time
Benefits time is entered from Add Time by choosing the benefits time slip type.
The specific benefit categories available to you depend on how your company has configured BaseBuilders.
Common examples may include:
Holiday
Paid time off
Family or medical leave
Maternity leave
Your organization controls which benefit categories are available.
Entering Admin or Overhead Time
Admin or overhead time is also entered from Add Time.
Your company may define categories such as:
General administrative time
Errands and deliveries
Staff meetings
Other internal overhead categories
These categories allow non-project time to be tracked properly without assigning it to a billable project.
Practical Workflow
For most users, the fastest workflow is:
Open your time sheet.
If rows already exist, click into the correct row and day column.
Enter your hours.
Use Add Time only when the project, proposal, admin category, or benefit category is not already shown.
This keeps time entry fast while still allowing you to add new rows when your work changes.
Key Takeaway
Use Add Time when you need to create a new time slip row. Use existing rows when you are continuing work from a prior pay period.